
Moving out of a rental property can be a stressful process, filled with logistical challenges and potential disputes with landlords. A smooth move-out requires careful planning, open communication, and a thorough understanding of your lease agreement. This guide provides essential steps to ensure your transition from your rental unit is as seamless and stress-free as possible, covering everything from providing proper notice to conducting a final walkthrough. By following these guidelines, you can minimize potential problems and secure the return of your security deposit.
Whether you’re moving to a new city, upgrading to a larger space, or simply seeking a change of scenery, the process of moving out of a rental requires careful attention to detail. From understanding your lease terms and providing adequate notice to the final walkthrough and retrieval of your security deposit, each step plays a crucial role in a smooth transition. This comprehensive guide will provide you with a clear roadmap, outlining the essential steps to ensure a stress-free move-out experience. Learn how to effectively communicate with your landlord, document the condition of the property, and navigate the move-out process efficiently, ensuring a positive conclusion to your tenancy.
Check Your Lease for Notice Period
Your lease agreement is the most important document for determining how to properly terminate your tenancy. It outlines the required notice period, which is the length of time you must inform your landlord of your intent to move out. This period is typically 30 or 60 days, but can vary.
Carefully review your lease for this crucial information. Failure to provide adequate notice can result in penalties, such as forfeiting your security deposit or being held responsible for additional rent payments. Locate the clause specifically addressing the termination of the tenancy and the required notice period.
Give Proper Written Notice
Providing your landlord with proper written notice is a crucial step in moving out smoothly. Your lease agreement dictates the required notice period, typically 30 or 60 days. Do not rely on verbal agreements.
A written notice formally documents your intent to vacate the premises on a specific date. This protects you from potential legal issues and ensures a clear understanding between you and your landlord regarding the end of your tenancy.
Deliver the notice according to the method specified in your lease (e.g., hand-delivered, certified mail). Keep a copy for your records.
Document the Property Condition
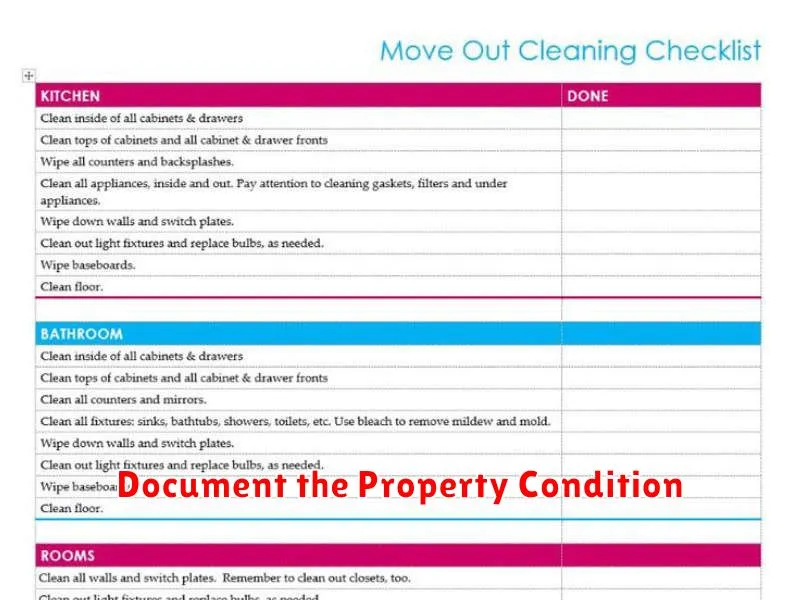
Before you move out, thoroughly document the condition of the property. This protects you from potential disputes regarding pre-existing damage.
Take photos and videos of each room, including close-ups of any existing wear and tear. Pay particular attention to areas prone to damage, such as walls, floors, and appliances.
If possible, conduct a joint walkthrough with your landlord, noting any discrepancies and agreeing on the current state of the property. This shared record helps prevent disagreements later.
Schedule a Walkthrough with Landlord
A pre-move-out walkthrough with your landlord is crucial. This allows both parties to document the condition of the property and identify any potential disputes regarding damages.
Contact your landlord to schedule this walkthrough at least two weeks before your move-out date. This provides ample time to address any necessary repairs or cleaning before your lease ends.
During the walkthrough, carefully document existing damage and compare it to the initial condition report you completed when you moved in. Take notes and, if possible, photos for your records.
Handle Repairs and Cleaning
Address any necessary repairs before your move-out inspection. This includes patching holes, fixing leaky faucets, and addressing any damage beyond normal wear and tear. Refer to your lease agreement to understand your responsibilities.
Thoroughly clean the entire rental unit. This includes cleaning appliances, bathrooms, floors, and windows. A clean unit increases your chances of receiving your full security deposit back. Consider hiring professional cleaners if needed.
Document the condition of the unit after cleaning and repairs with photos or videos. This documentation can serve as proof of the unit’s condition when you vacated, protecting you from potential disputes.
Forward Your Mail
Forwarding your mail is a crucial step to ensure you receive all your correspondence after moving. Contact the United States Postal Service (USPS) to set up mail forwarding. This can be done online or at a local post office.
Provide your old address and your new address. Choose the start date for the forwarding service to begin. You can select a duration for the forwarding, ranging from a few months to indefinitely.
Consider informing important senders directly of your address change to avoid any delays or misdirected mail. While mail forwarding is effective, direct notification provides an extra layer of assurance.
Disconnect Utilities
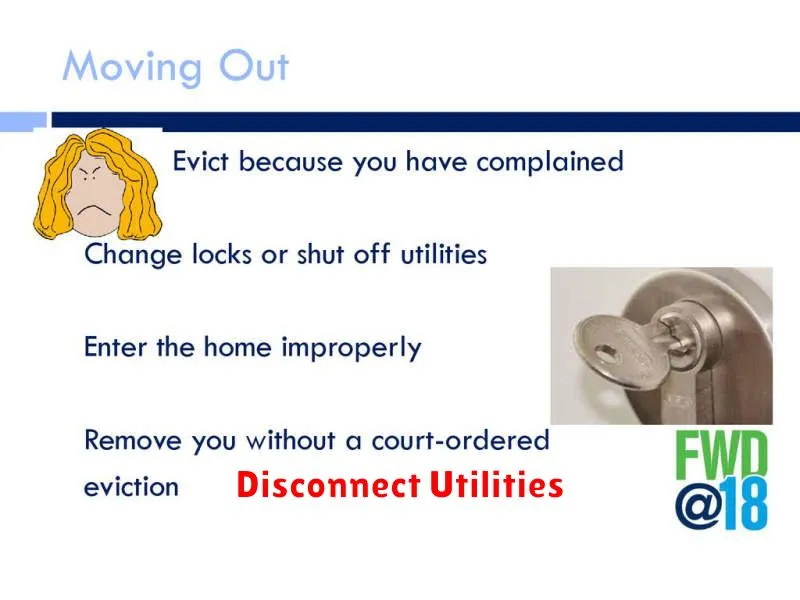
Disconnecting utilities is a crucial step in the move-out process. Schedule disconnection dates in advance to avoid being charged for services you’re not using. Coordinate these dates with your move-out date to ensure a seamless transition. Contact each utility provider individually.
Common utilities to disconnect include electricity, gas, water, internet, and cable. Some providers may require a final meter reading, so be prepared to provide access to your unit. Confirm disconnection with each provider to avoid any discrepancies.
Return Keys and Get Confirmation
The final step in moving out is returning the keys and obtaining confirmation from your landlord that you’ve done so. Do not simply leave the keys in the property or mailbox. Arrange a specific time to meet your landlord or property manager for the key return.
Upon returning the keys, request a written receipt or confirmation stating the date and time the keys were returned. This documentation serves as crucial proof should any disputes arise later regarding the property’s condition or the official move-out date.
Ensure you return all keys received, including mailbox, storage unit, and any other access keys. If any keys are missing, inform your landlord immediately to discuss replacements or related charges.
Request Your Security Deposit
After you’ve completely vacated the property and returned the keys, it’s time to request the return of your security deposit. Refer to your lease agreement for the specific timeframe and procedure outlined for returning deposits.
Your landlord has a specified amount of time to return your deposit, often minus deductions for damages exceeding normal wear and tear. Document the condition of the property when you move out with photos and videos. This documentation can serve as valuable evidence if any disputes arise regarding the condition of the property.
If deductions are made, your landlord should provide you with an itemized list of repairs and their costs. If you disagree with the deductions, contact your landlord to discuss the matter. If you cannot reach a resolution, you may need to explore legal options available in your jurisdiction.
Update Your Address Everywhere
Changing your address involves more than just forwarding your mail. It’s crucial to update it with all relevant institutions and individuals to ensure seamless communication and avoid missing important information. Start with official institutions like the post office, DMV, banks, and credit card companies.
Next, notify important service providers. This includes insurance companies (health, auto, home), utility companies (gas, electric, water), and subscription services (streaming, magazines).
Finally, inform any personal contacts who may need your updated address. This might include family, friends, and any businesses you regularly interact with.